Tigers can be a challenge to draw, getting big cat anatomy just right with all the fur and stripes requires serious attention to details. This guide will make that process much easier. This free tutorial on how to draw a tiger will walk you thru creativity process step by step.
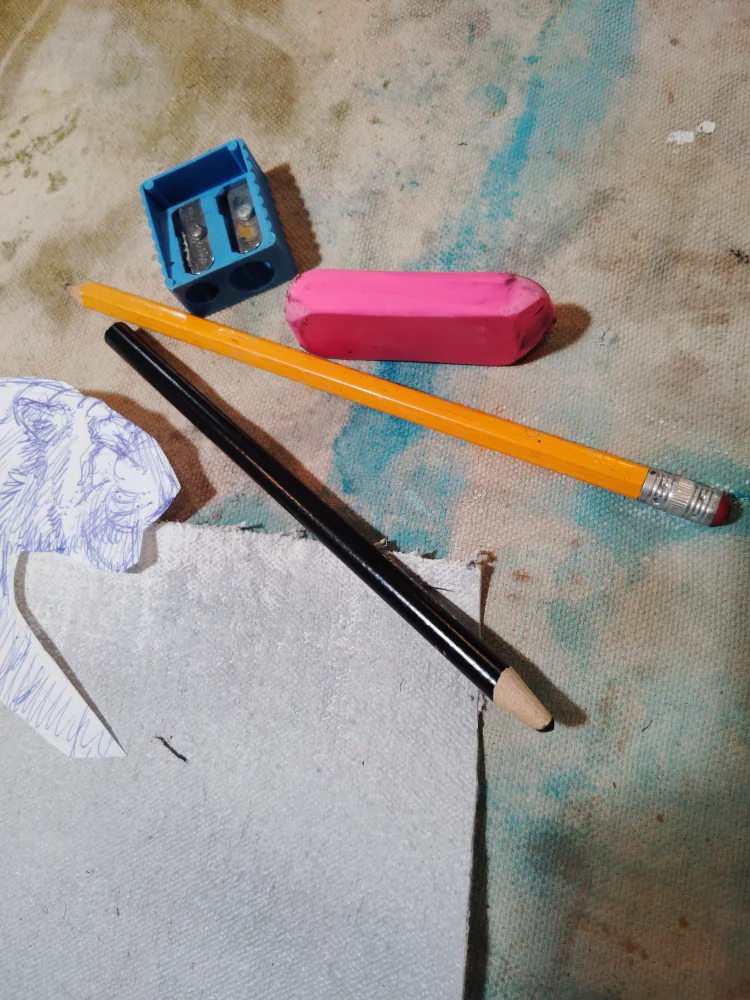
If you really want to draw or paint cats or tigers realistically, then start mastering tiger anatomy. The best part about learning to draw anything is you do not need to spend much money. A pencil and a piece of paper is all you need to get started on your artistic journey. I ususually begin sketcing rough ideas using a pen and paper. In the first stage, you should only focus on ideas, composition and large objects. Try crearing about five to ten sketching ideas, then start to refine a little more detail on the next stage.
This tutorial will show you how to draw or paint a tiger in four simple steps
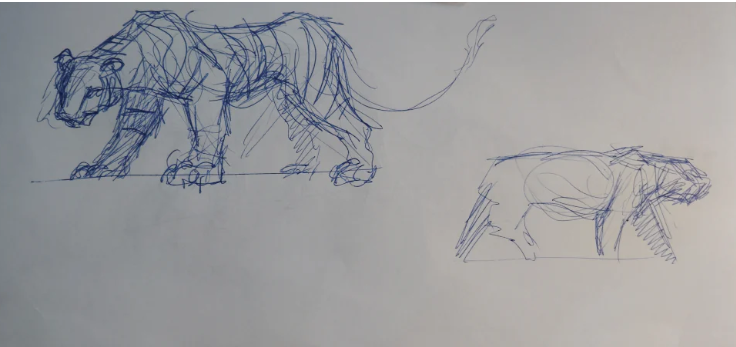
Step 1: Create five simple drawings of a tiger. Notice the lack of detail, the anatomy has mistakes, and its a simple black and white sketch. It’s ok to make mistakes at this stage of the creative process, once you have find a satifactory design, you will begin refining details at the next step.

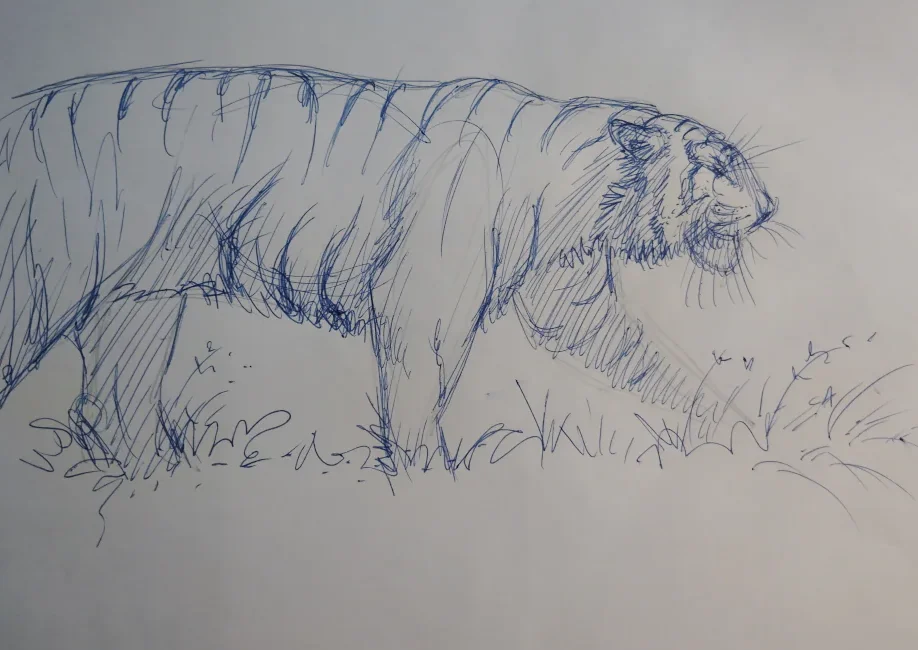
Step 2:
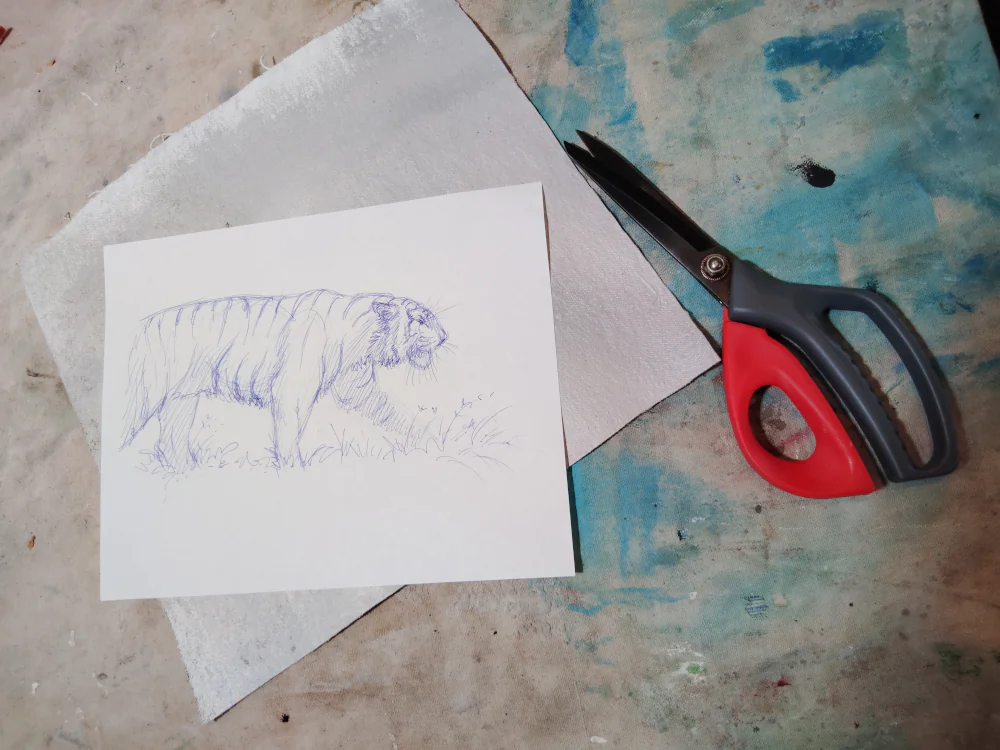
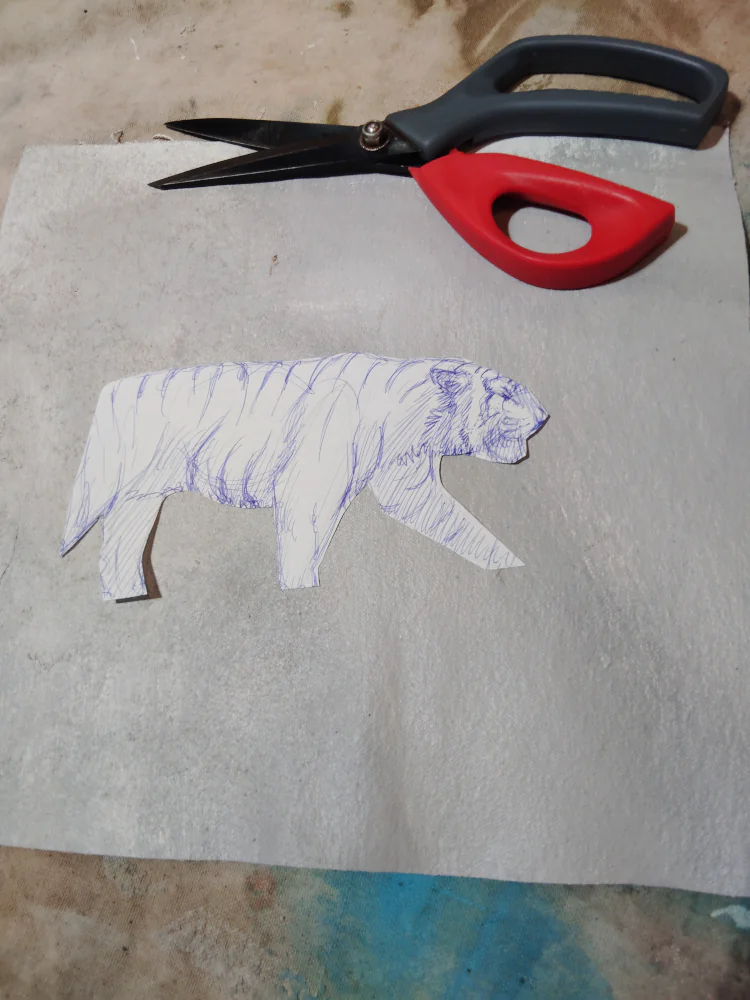
Try this approach. Using cotton canvas, transfer your original sketch image from step 2 to your canvas. Using scissors, carefull cut out tigers image outline, to use as a stencil. Then trace the outside of the tiger to your cotton canvas, this way you have a starting reference outline to work with.

Step 3:
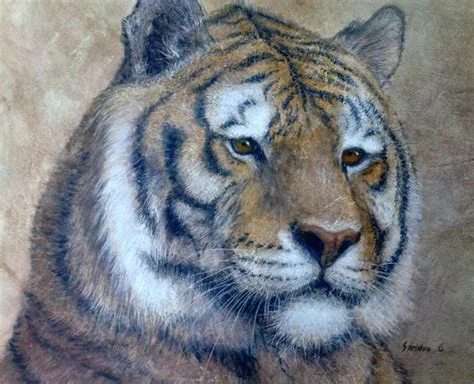
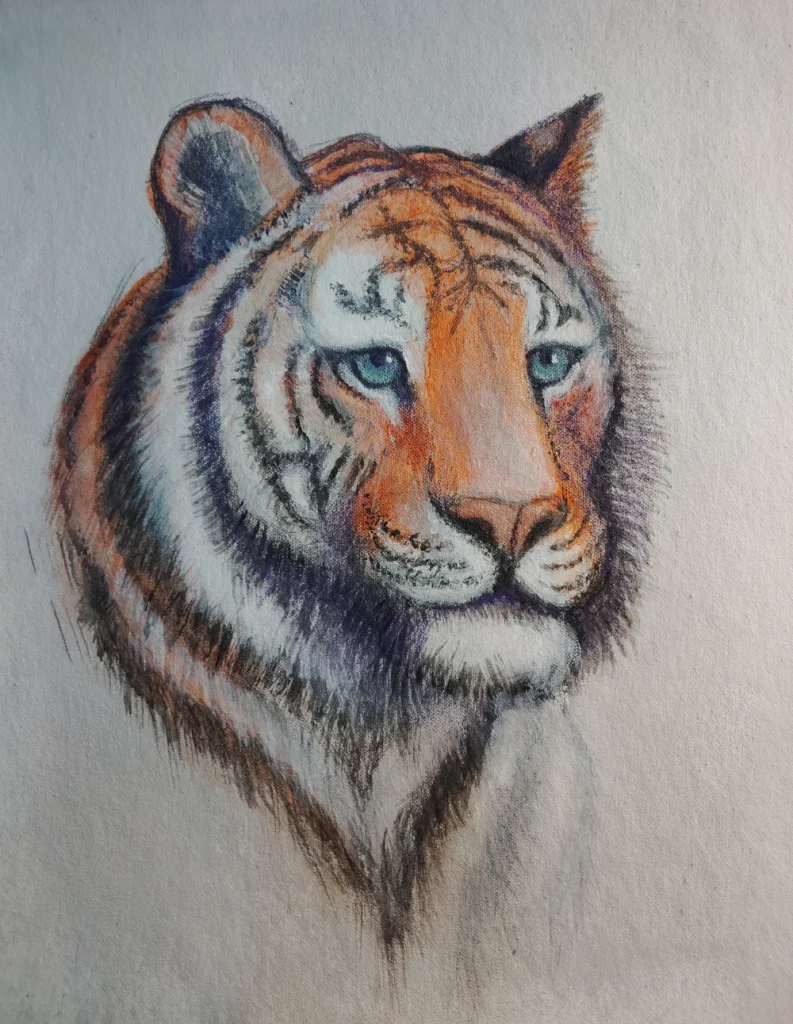
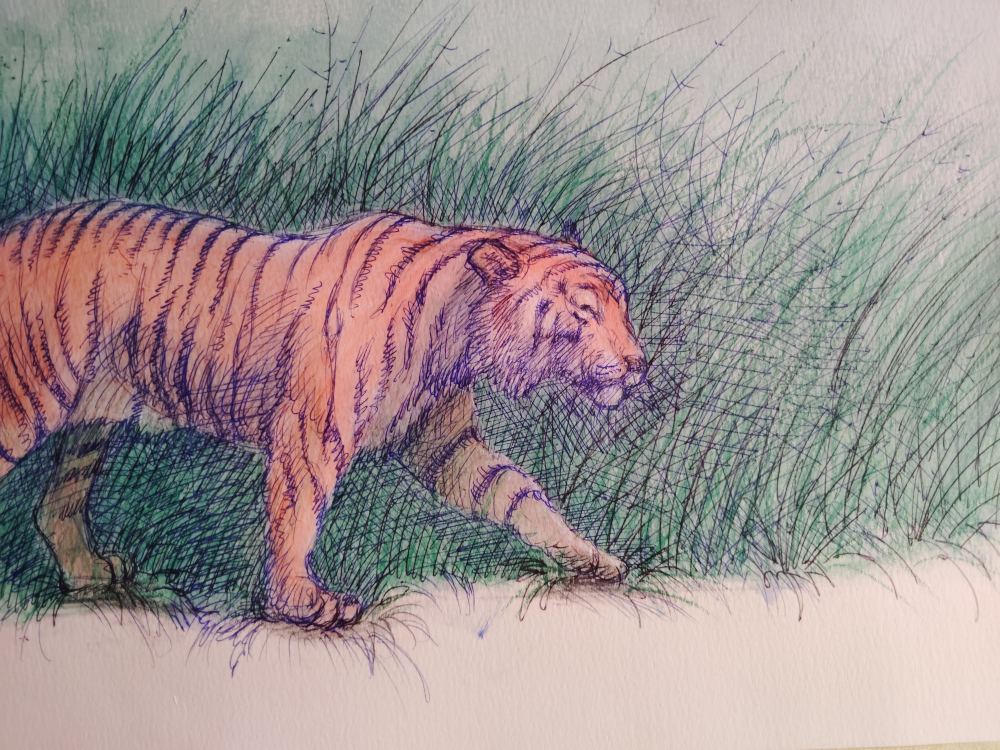
Now that you have an idea of tigers position, and composition, you can begin adding some details and color. At this stage, you should start thinking about shading, color and background ideas. Also plan on making the big cats anatomy more accurate by referencing any images you find online or from a book.
Again these are just ideas, no need to get detail oriented or fancy. You just need to know the subject matter, color and composition. But you also get to develop a strong line up of color studies to choose from.
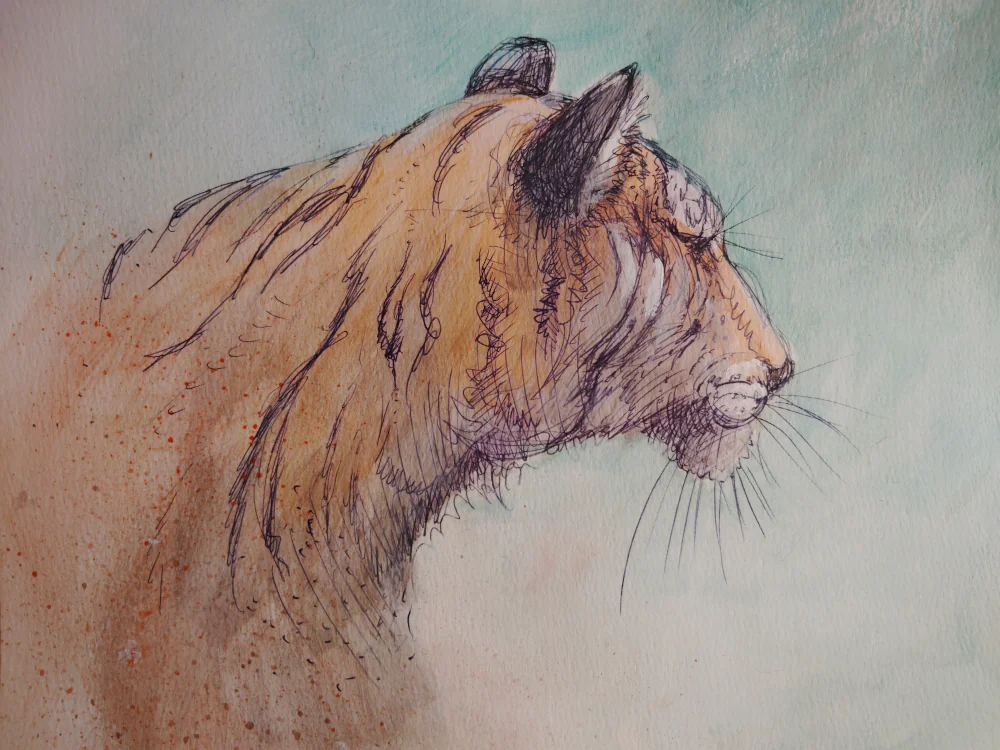
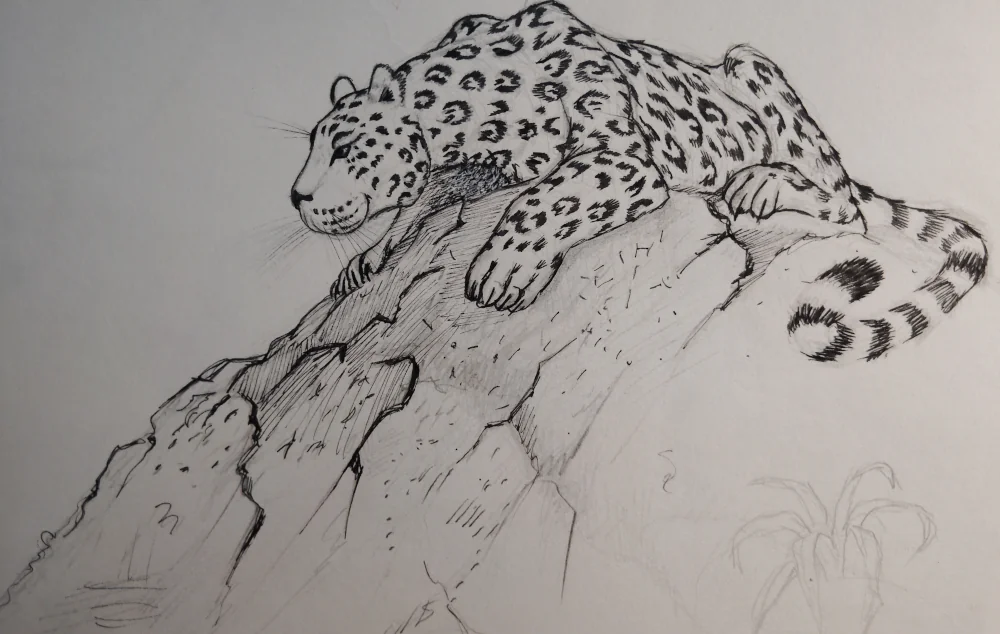
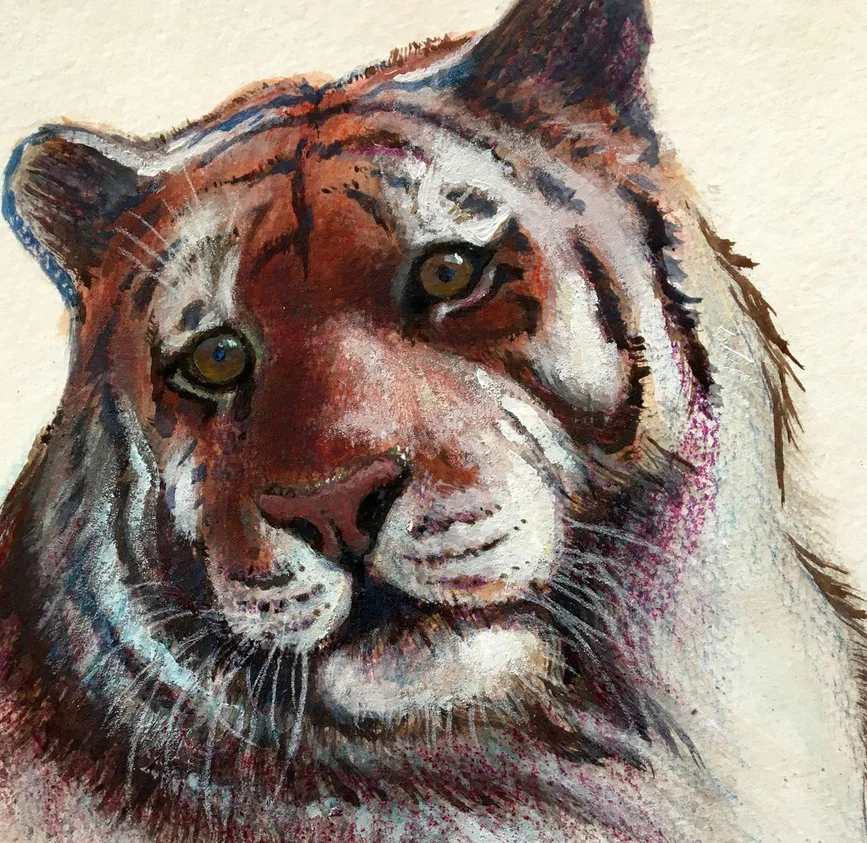
While painting these new big cat creations, you will need some time to let them dry. I like to use this drying time oppurtuniny to create some other random paintings. This keeps the imagination flowing, and helps to bring out the creative accidental genious surprise piece you were not expecting. It’s bound to happen. You just start creating, and next thing you know it, 1 out of 5 expiremental skethes becomes an idea. You can stop here and run with it, or put that mini masterpiece in a shelf to be continued later. Below are some examples: